Tuesday, October 7, 2008

S/V Kala May is finished, for the most part.


Although this boat will never be finished, it was finished "enough" at then end of May. On July 4th weekend it was splashed in Port Aransas harbor. It sailed all weekend and was loads of fun. Below are a bunch of random pics of the rest of the project  (like the interior) and us out having fun on it.


We're often tied up with other boats and I sometimes get pretty crazy with the cooking. Here's a shot of my friend Julian M. holding some of the food I put together for Labor Day.


A shot of the sunset one evening tied up with another boat on Lake Travis. The boat on the left is s/v Kala May.


Port Aransas harbor, right after stepping the mast for the first time. It was nerve-racking.


Slowly, very slowly, backing her into the water for the first time since the rebuild.


Here she sits at Port Aransas, Texas.


Here is the interior before any demolition was done.


Tuesday, May 6, 2008

Here are some shots of getting the upper deck ready for final painting.

Here the deck is patched and ready for sanding and priming:


Now it's ready for paint. Aft looking forward:


Forward looking aft:


Final paint should go on this weekend.

Thursday, April 17, 2008

Lastest progress

We're almost ready to paint the deck. Here's a shot of the transom after the repair of the damage at the top.


I love high gloss paint:


All the hardware is off now, and we're working on the deck:

Sunday, March 23, 2008

Paint sand paint sand paint

Here are some pics of our latest progress.
Bottom primered ready for antifouling paint:


Bottom painted, port side patched. You'll notice that it's no longer on stands, and back onto the trailer. Woohoo!!!


Port side primered:


Port side is complete!!!

Saturday, February 2, 2008

Still working.

We're still working on it, even at night. The hull is nearly ready for primer and paint. In fact, after this weekend I expect that it will be ready for painting. I picked the most difficult and time consuming part of this project to do first (the hull and keel.) Once we have progressed beyond that point I'm hopeful things will begin to move much faster. We'll definitely be finished in time for summer, and I'm hopeful that it'll be April. Of course my earlier estimates of February were too ambitious. I didn't take into account that we couldn't epoxy in cold temperatures, and we've had a few weeks of rain and cold temps. This really slowed us down.

The other issue that really really slowed us down was delamination of the gelcoat. We'd sand down to the primer on the hull and see little tiny blisters. So we'd sand down through the primer to the tiny blisters and they'd flake off. All of the gelcoat in these areas had to be removed, all the way down to the glass. All of the areas of exposed glass need to be epoxied and sanded - three coats. This also took a long time.

We should have removed all of the gelcoat from the hull, to be safe. But this is not meant to be a 20 year repair job, only a 10 year job. This is a 30 year old boat, and I don't expect to have it more than a few years.

This photo was taken a few nights ago:


This is the keel, repair completed. I put an extra layer of 1708 just for added protection. I really doubt that it needed it, but it helped my confidence about my repair work. The repair has been faired and will be unnoticeable after painting. The repair is rock solid and I have no concerns about its structural integrity. Another nice feature of this boat is that the keel is a sealed enclosure. You can punch a big hole into the keel and the boat won't sink.

Tuesday, January 8, 2008

The keel is repaired.

Well the yard is a huge freakin' mess, so I think it's safe to say that the operation is fully underway.


We started sanding off the bottom paint, down to the primer, and through a lot of the primer on the upper part of the hull. Down towards the keel (where the hole is) we went down past the primer. Right around the hole I went all the way down to the glass.


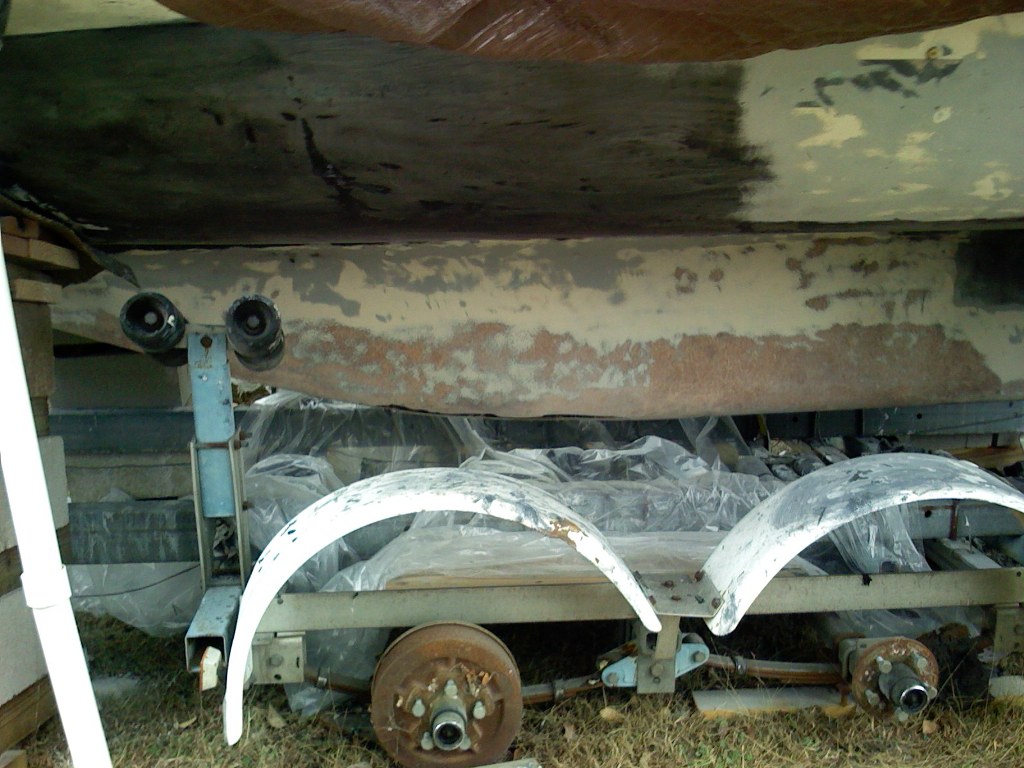
This is a shot of the hole before the start of the repair:


After I ground all of the delaminated and broken glass out, the crack became a 2 inch by 24 inch hole. There was no practical way to do the repair from the inside, but I could get my small hands inside the hole no problem. So I decide to put some glass tape inside the keel using my hands.

Using my hand, I spread thickened epoxy inside the keel. I have smallish hands so it was easy to get a nice coating of it inside. Then I cut 3 inch long strips of 6 inch wide 12 oz biaxial tape. I wet out each strip first, then laid them inside the hole cross ways using my fingers, overlapping each piece. After that got tacky, I applied thickened epoxy on top of it, which was then fair with the outside of the keel. After that got tacky, I pre-wetted a 24 inch long strip of 12 oz biaxial tape and applied it. I pressed it up tight with tape and wax paper.


It came out pretty nicely, and it seems rock solid:


After that all cured, I sanded it, wet it, and then applied at 36 inch long strip of biaxial tape on top of that:


It now seems even more rock solid. The next step will be to sand this, and lay over it a 40 inch by 12 wide piece of 1708 glass. I don't know if this is overkill or not, but I'm doing it anyway.

I did get one good sized bubble on the second layer of tape which I will grind out and fill with thickened epoxy. It is towards the end of the tape and not near the original hole. Next, we prime and paint the bottom.


Here's a picture of my buddy Julian, relaxing with some 80 grit:


And here I am, the Toxic Avenger:

Tuesday, December 11, 2007

The cabin

It's been a while since I last posted, but it's not because I haven't been doing work on the boat. Although things are going much slower than I'd like for them too. The main issue has been the holidays - which can take up a lot of free time. The other issue has been that I'm building a small boat as a Christmas gift and I'm really having to put in a lot of time here at the end to get it ready by Christmas day. I'm still not sure I can get it done in time, but I'm trying.

The keel on the Bayliner Buccaneer is molded as part of the hull. It is not attached to the boat, it's part of the boat. It's a shallow keel. During the building process, a 1250 pound lead weight is lowered into the keel space and glassed into place. A thick covering is then glassed over it, and flotation safety foam sprayed on top. Then the sole is glassed in over that.

I've torn out most of the sole and removed all of the flotation foam. I've exposed the top of the keel which was been sealed in with fiberglass as I mentioned. After inspecting the hull under the sole, and the condition of the top of the keel I've decided not to pull out the keel weight to repair the hole underneath it. The glass and surrounding structure is very solid and there are no signs of rot. Removing the keel weight and repairing the hole from the inside would be the way to do it if I were going to keep the boat another 10 to 20 years, but I'm not. Additionally, this is a 30 year old 24 foot Bayliner, it's just not worth putting that kind of time, money and effort into it. So the keel will be repaired from the outside. I'll go into more detail on how this will work later.

Here is a photo of the cabin before we started removing the floor


The above photo is a view of the vee-berth from the galley. You can see where the previous owner removed the decking in the vee-berth and pulled out some of the flotation foam. This was to get at the fresh water tanks that were thought to be leaking.


The above image was taken after most of the floor and all of the flotation foam was removed. This is the cavity under the sole that is filled with foam. I've cut through part of the glass for inspection purposes. Just underneath that 1 inch thick fiber glass is the keel weight. The glass helps keep the keel weight in place and attached to the hull. I'll be adding several layers of 12 oz. biaxial glass tape along the insides of this cavity for additional support before I put the floor back in. Then new flotation foam will be sprayed in.

Although I do not have pictures of it at the moment, the boat is high up on blocks and off of the trailer. It is under a large plastic tent, which totally encloses the boat to keep moisture out. The next step is to repair the keel from the outside. We've started sanding off the entire bottom paint job. On the keel, we'll sand everything off all the way down to the glass. Any weak spots will be repaired with cloth and/or epoxy if needed. All blisters will be ground down to the glass and repaired with thickened epoxy. The keel damage will be repaired by grinding out the crack and shoving thickened epoxy into it. Then the entire keel will be sanded to the glass and covered with 1708 glass cloth, then epoxied with several layers of epoxy.

I hope to have the hull (below the waterline) glassed and totally repaired and prepped for painting by New Years Eve. Then it'll be primed painted soon after with Interlux Micron anti-fouling paint. After that we'll start working prepping the outside of the hull for painting above the waterline.

I hope to post again soon.